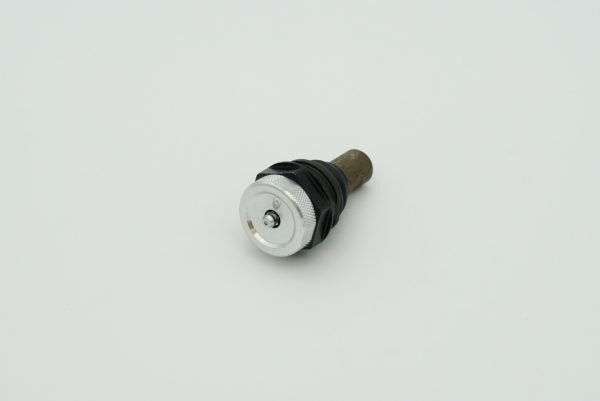
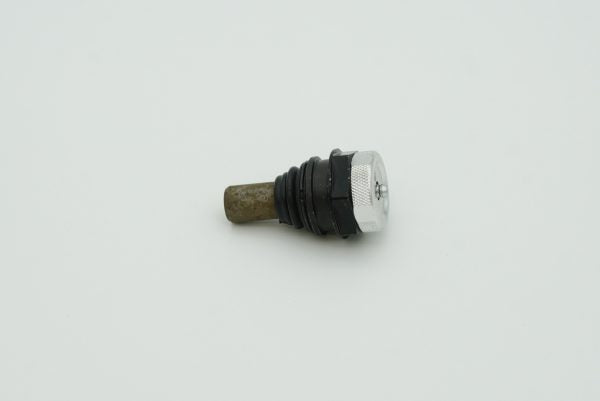
Black Ops Machine "Heavy Duty" Polaris Ball Joint

Black Ops Machine "Heavy Duty" Polaris Ball Joint

Skip to product information
1 of 2

Black Ops Machine "Heavy Duty" Polaris Ball Joint

Black Ops Machine "Heavy Duty" Polaris Ball Joint

Regular price Price $89.95
Regular price Price Sale price $89.95
Sale Sold out
Shipping calculated at checkout.
  • Brushed Red $593.75
  • Silver w/Machined Face $693.75
  • Gloss Black $153.75

In stock

Add to Wishlist
View full details

Description

***SOLD INDIVIDUALLY***

These are the heaviest-duty Polaris XP1000 ball joints you can find on the market. The housing and support cup as well as the stud are made from 4340 chromoly and 300m steel, respectively. The dust boots are made from CR/Neoprene, and the adjustment plate cap is 6061 aluminum.

The ball joints are fully adjustable and rebuildable –– allowing them to be fully disassembled, cleaned, and re-greased to ensure you can keep riding longer, faster, and harder with the minimal amount of long-term maintenance possible.

While we do always recommend replacing all of your Polaris XP1000 ball joints at the same time, we sell them individually.

This Ball Joint is Sold Individually

There’s nothing worse than snapping a lower ball joint on your Polaris, and our Heavy Duty Polaris Ball Joint is here to fix that. Whether you drove it too hot into a curb, smacked a rock, or went full-send mode and landed a jump too aggressively, an OEM ball joint for side-by-sides is prone to failure. Fortunately, Black Ops Machine has the high-quality replacement Heavy Duty Ball Joint to resolve this common issue.

Our HD ball joints are engineered for the off-road enthusiast who doesn’t have time for broken OEM suspension parts. This heavy-duty ball joint replacement part follows Polaris OEM fitment standards, with upgraded materials and precision manufacturing standards to hold up to constant abuse.

Black Ops Machine solves common Polaris ball joint issues by using 4340 chromoly and 300m steel on the housing, support cup, and stud. The dust boots are upgraded with CR/Neoprene, with a 6061-aluminum designed adjustment plate cap.

While we strongly prescribe to the “fix it all at the same time” mentality when it comes to replacing ball joints, we sell this product individually. So – to avoid further ball joint failure – replace them all at the same time – cool?

INSTALL INSTRUCTIONS:

  1. Place the ball joint in the freezer for an hour, or two
  2. Jack car up off the ground
  3. Remove wheel
  4. Loosen ball joint nut
  5. Pry ball joint up from the back side
  6. Pull lower arm down and out of the way
  7. Use vice grips to hold socket over ball joint and hit socket downward with a hammer
  8. Heat the metal where the ball joint will be installed with a torch (not red hot, just enough to make it slightly expand)
  9. Get the ball joint out of the freezer and put it in the arm as quickly as possible
  10. Put everything back together and you are good to go

*** We always recommend replacing all of your ball joints at the same time. Or at least both upper, or both lower at the same time. ***


FITMENT:

    • RZR XP 1000 2014+
    • RZR XP4 1000 2014+
    • RZR XP1000 Highlifter 2015+
    • RZR XP1000 Rock & Trail 2017+
    • Turbo S
    • Pro XP
    • General XP
    • Pro R/Turbo R Upper

wRITE REVIEW